Saturday, June 28, 2014
Hello everyone,
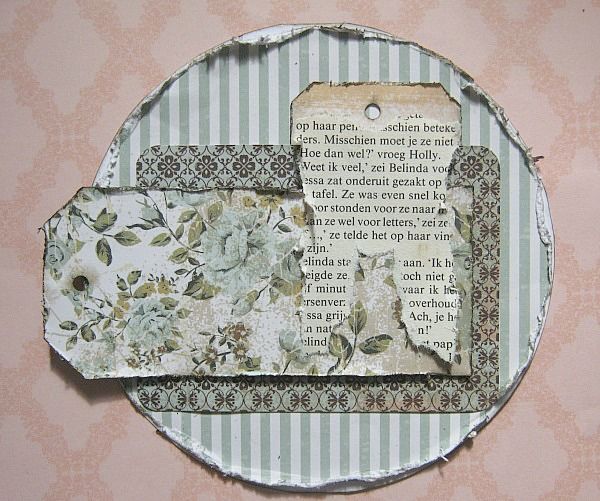
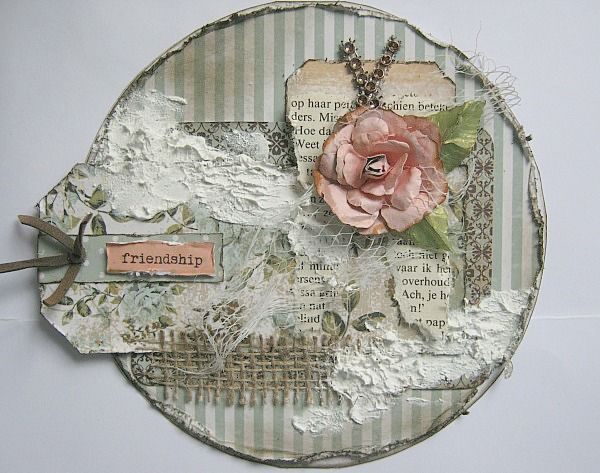
Today I have this card to share:
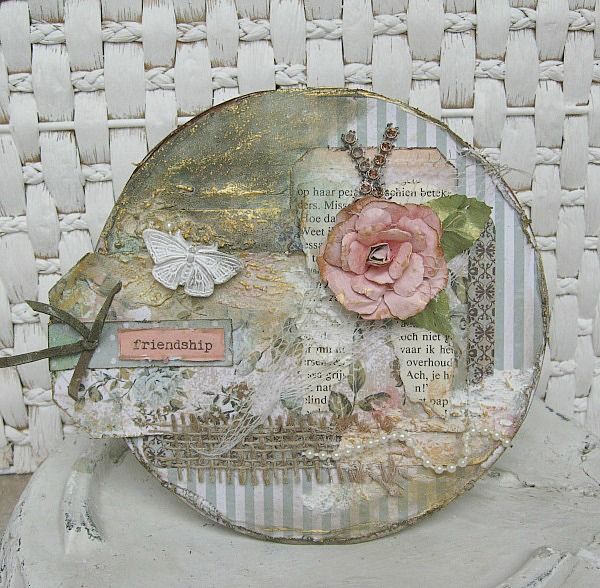
And well.... I can assure you that there were many times, during the creative process, that I thought: You should have left it alone!!!!! But.... we here at Swirlydoos.... we just can't stop adding right?

And well.... I can assure you that there were many times, during the creative process, that I thought: You should have left it alone!!!!! But.... we here at Swirlydoos.... we just can't stop adding right?
So that is exactly what I did, and I'm not too unhappy with it.
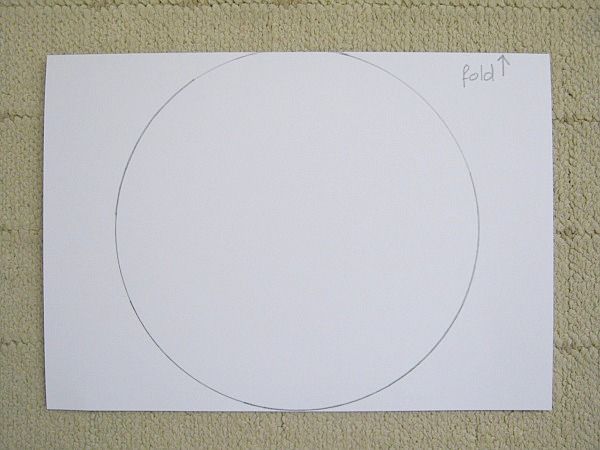
For the base of my card I folded an A4 piece of cardstock double and drew a circle, which at the top, is a little overlapping to create a double round card.
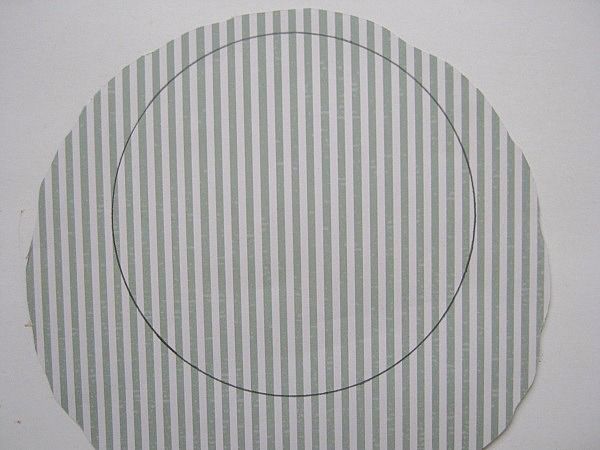
Then I drew another circle (same size as the base card) on PP and cut it out.

For the base of my card I folded an A4 piece of cardstock double and drew a circle, which at the top, is a little overlapping to create a double round card.

Then I drew another circle (same size as the base card) on PP and cut it out.

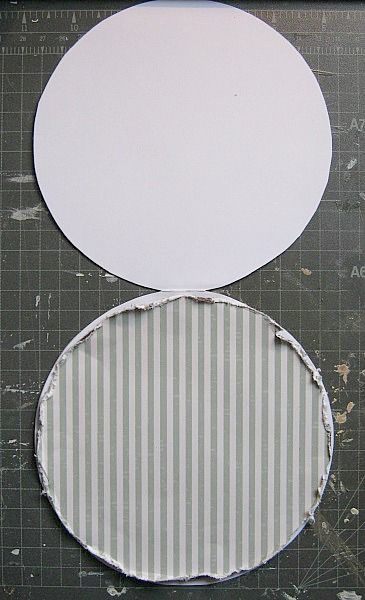
(Excuse me for the dirty background)
I distressed the edges and glued it onto my opened card base. I find that when you open up your card, you can align it better. Especially helpful with a stripe designed paper.
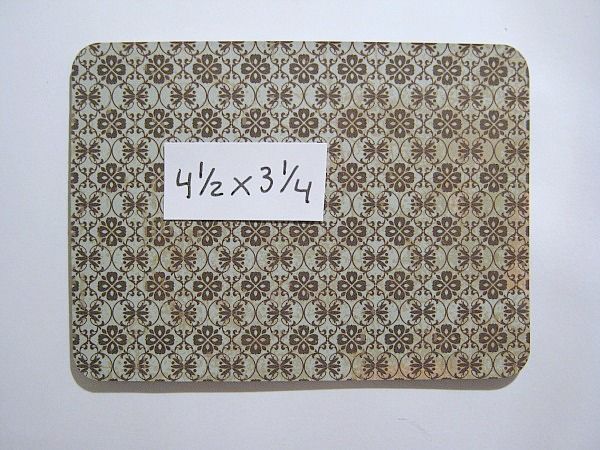
I cut a piece of PP at 4.1/2 x 3.1/4 for my first layer and rounded the corners.

Then, and excuse me for this tag being teared, I cut a tag at 2.1/4 x 3
(that is what you get if you want to use your scrap)
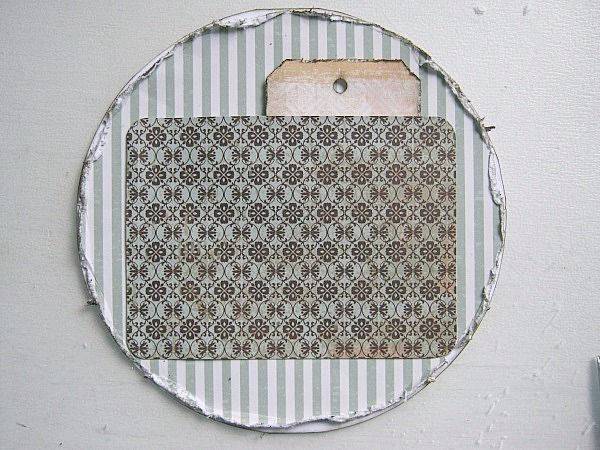
And I placed both pieces like in the picture.
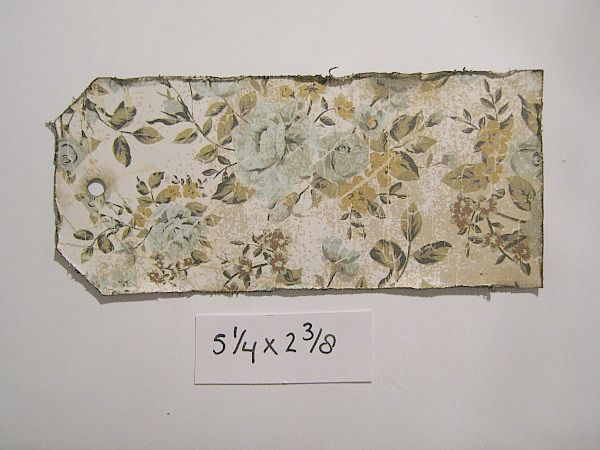
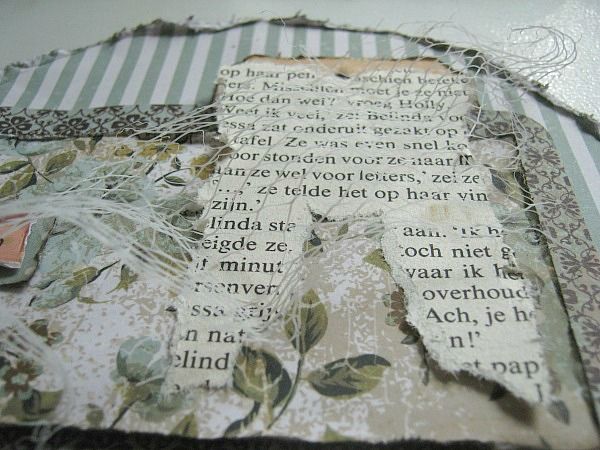
Then I cut another tag from that beautiful rose PP at 5.1/4 x 2.3/8. I distressed and inked the edges.
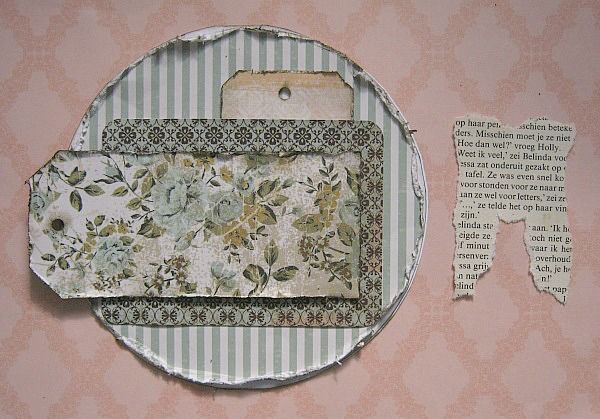
I glued it to the center piece but did raise it a litlle, by using a piece of the box, the kit came in. I also teared, it looks like a letter M to me, from an old book page.
I glued it on top of the frist little tag.
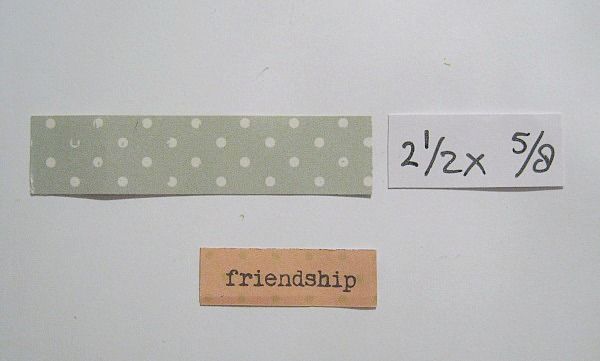
Then I cut a little strip at 2.1/2 x 5/8. This will be a mat for my (from the barcode strip) cut out sentiment *friendship*
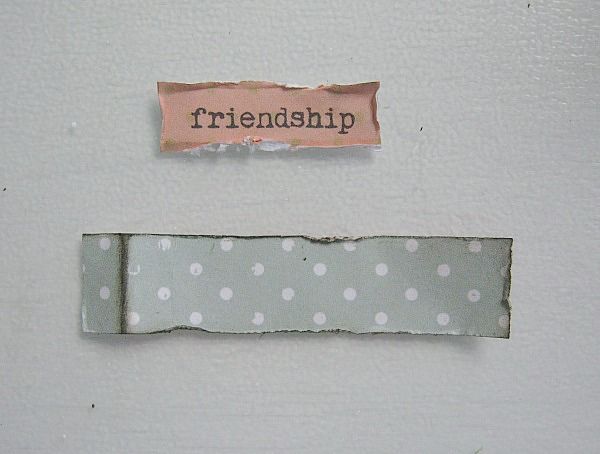
Both pieces got their edges distressed and inked
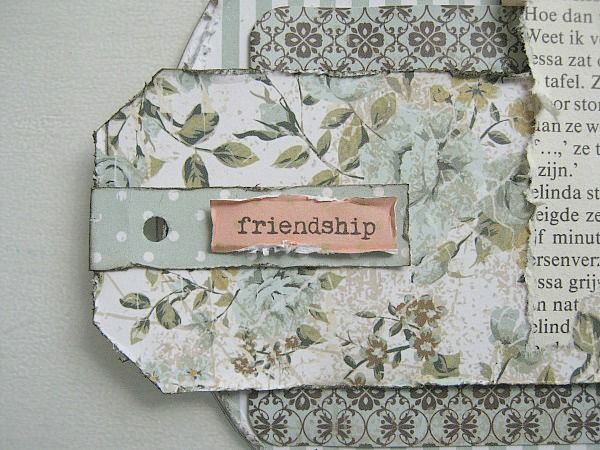
And I glued them to the rose tag like this.
Then I took out a little mesh and placed it over my center. (I made this picture a little darker, for you to see the mesh better)
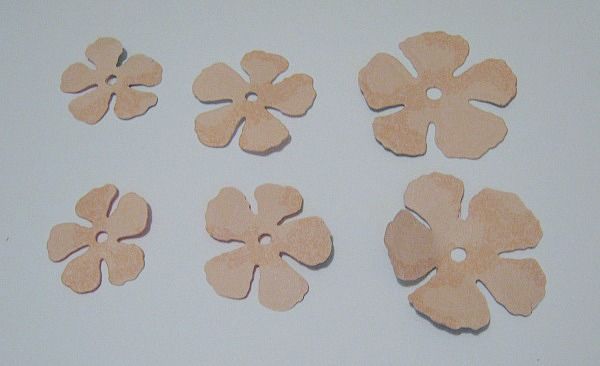
I die cutted some flowers (I used the Spellbinder rose die)

Shaped the edges and turned it into a flower.
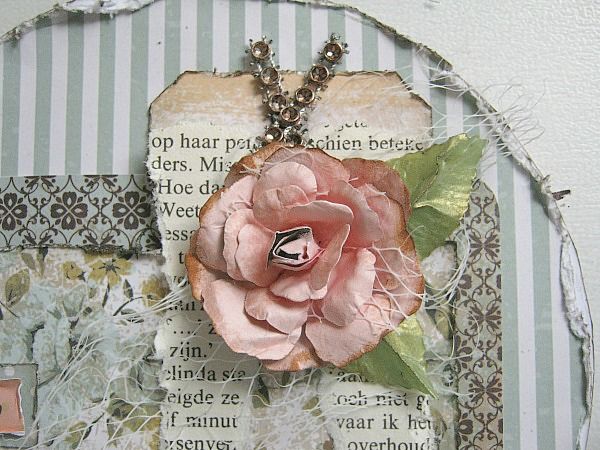
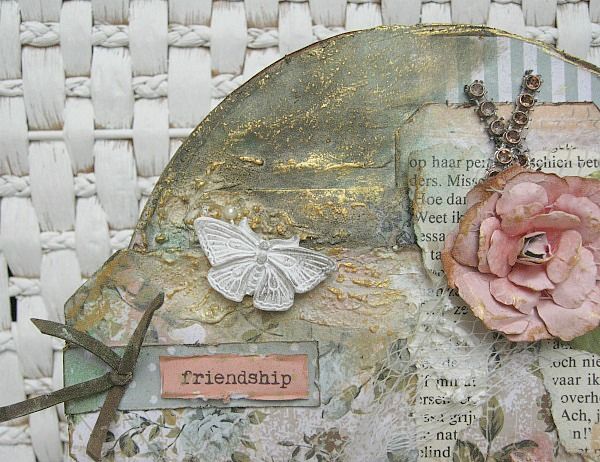
I placed my flower on top of the book-page tag and added some bling which came in the kit and 2 handmade leaves.
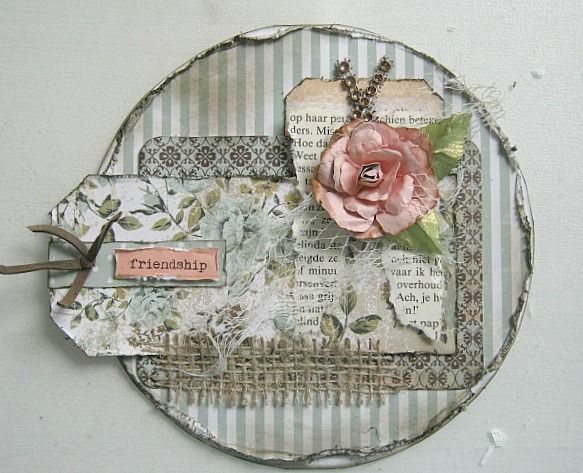
Then I added a little strip of burlap.
I added some structure paste. (And here's where I thought: I should have left it alone)
Because I wanted to add a few mists, but sadly I grapped the wrong bottle and urgh... It turned out a dark blue instead of a lighter teal. So I added some gold mist and some Papersoft and eventually after everything was dry, I added some inka gold.
To finish it off, I glued a resin
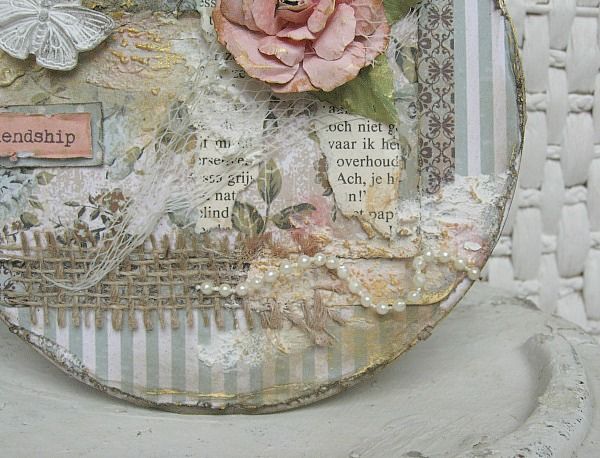
and some pearl strand.
********
SO learn from my mistake and put the bottles of mists you want to use in front of you,
I distressed the edges and glued it onto my opened card base. I find that when you open up your card, you can align it better. Especially helpful with a stripe designed paper.

I cut a piece of PP at 4.1/2 x 3.1/4 for my first layer and rounded the corners.

Then, and excuse me for this tag being teared, I cut a tag at 2.1/4 x 3
(that is what you get if you want to use your scrap)

And I placed both pieces like in the picture.

Then I cut another tag from that beautiful rose PP at 5.1/4 x 2.3/8. I distressed and inked the edges.

I glued it to the center piece but did raise it a litlle, by using a piece of the box, the kit came in. I also teared, it looks like a letter M to me, from an old book page.

I glued it on top of the frist little tag.

Then I cut a little strip at 2.1/2 x 5/8. This will be a mat for my (from the barcode strip) cut out sentiment *friendship*

Both pieces got their edges distressed and inked

And I glued them to the rose tag like this.

Then I took out a little mesh and placed it over my center. (I made this picture a little darker, for you to see the mesh better)

I die cutted some flowers (I used the Spellbinder rose die)

Shaped the edges and turned it into a flower.

I placed my flower on top of the book-page tag and added some bling which came in the kit and 2 handmade leaves.

Then I added a little strip of burlap.

I added some structure paste. (And here's where I thought: I should have left it alone)
Because I wanted to add a few mists, but sadly I grapped the wrong bottle and urgh... It turned out a dark blue instead of a lighter teal. So I added some gold mist and some Papersoft and eventually after everything was dry, I added some inka gold.

To finish it off, I glued a resin

and some pearl strand.
********
SO learn from my mistake and put the bottles of mists you want to use in front of you,
to make sure that you will NOT grab the wrong color mist.
I hope you like it anyway, and have a lovely weekend.
I hope you like it anyway, and have a lovely weekend.
Subscribe to:
Post Comments (Atom)

Be sure to "LIKE & FOLLOW" Swirlydoos for special FB only deals and promos
Follow this blog with bloglovin

Scrapbook Sketches

see all of our sketches here
Keep Tabs On Our Blog!


Popular Posts
-
 I wanted to showcase some of our entires for the Swiryhues Challenge. Just look how beautifully some of the entries are for this palette. ...
 -
 It's the big re ve al ! The full M onty! Check out our November kit, Nouveau ! Be sure to check out a video "tour" of...
 -
 Welcome to Swirlydoos' Mystical Winter kit reveal Blog Hop Block Party!! Happy New Year and Welcome!!! This month's kit,...
 -
 We are THRILLED to announce that Helena Johansson will be joining the Swirlydoos design team starting in October! Here's a little b...
 -
 It's the fourth (and final!) week of Swirly Challenges for November; still time to roll up your sleeves and wake up your mojo! ...
 -
 Welcome to Swirlydoos' February Blog Hop Block Party!! Welcome to Swirlydoos February Kit Reveal Blog Hop BLOCK PARTY!!! ...
 -
T-G-I-F!!!!!!!! Lots going on right now over on the boards! First CHA. WooHoo!!! Our fearless leader, broken foot and all, are head...
-
 Happy Monday everyone! It's the second week of Swirly Challenges for September; have you tried any yet? First, the Sketch C...
 -
 A huge thank you to everyone who participated on our blog hop! We appreciate you taking time out of your day to play along and post thoughtf...
 -
 We are pleased to announce that Jan is the winner of Layout of the Year for 2014! Each week, our design team picks a layout form our o...
5 comments:
Prachtige creatie.
Leuk zo'n stukje NL krant.
Gr Elly
Paulien, you did wonderful, but I sympathize with you, sometimes we just don't "feel" the piece we've created.
Paula
thank you for this wonderfull tutorial I loooove the result
It's gorgeous! Sometimes mistakes turn out better than intended as was this case :).
LOL, Paulien, I just call them "happy accidents" and go from there.
As you should: this card is gorgeous!!! I love the design and scraps, the gold and shabby, and that beautiful, beautiful handmade flower!!!