Saturday, June 14, 2014
Gosh.... I just totally love this GORGEOUS kit. And I think, that if you got yours... then you would agree with me.
Whilst working with the kit for first reveal, I always save my scraps of paper. These are just perfect for making cards. Including the barcode strips, of the Kaisercraft papers. On the back the have a lovely patern.
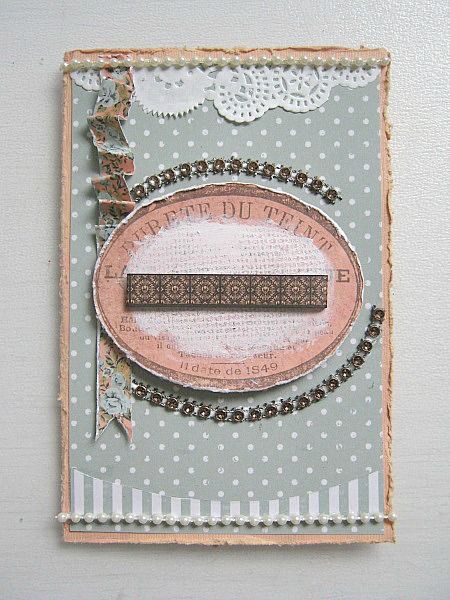
So, here's the card I made for today:
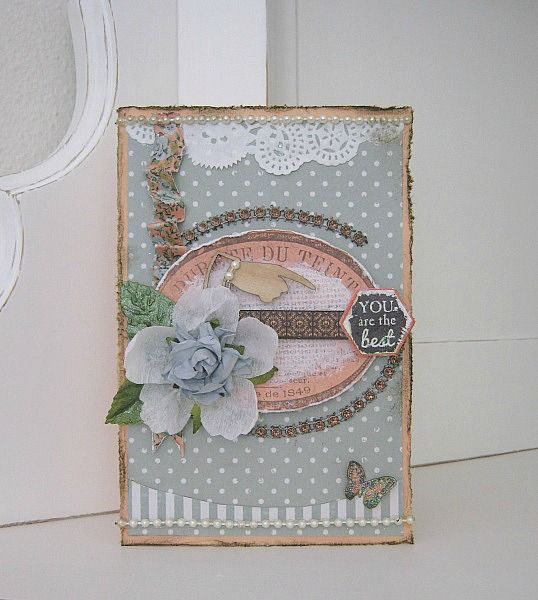
I snapped some pictures whilst creating, for you to see, how it came together.
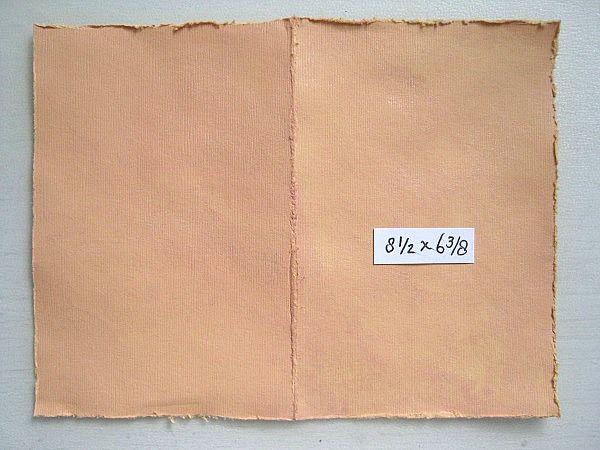
For my base card I cut a piece of cardstock at 8.1/2 x 6.3/8 Fold it double and then spritzed it with a pink glimmermist and distressed the edges.
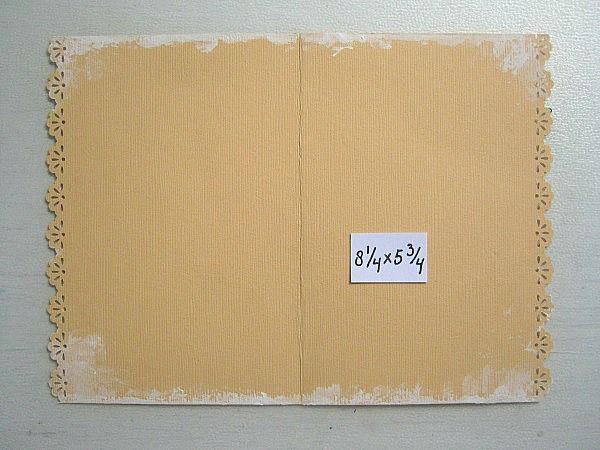
For the inside of the card I cut a piece of the same cardstock (not misted) at 8.1/4 x 5.3/4 Fold it double and used a border punch at both sides. Then, using my finger, I added some Gesso to the top and bottom and let it dry.
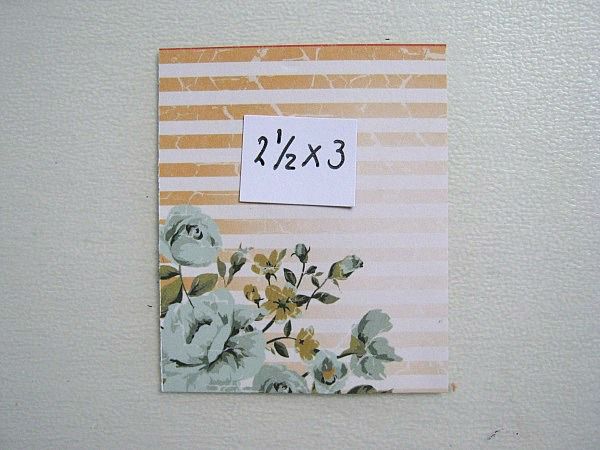
Then I cut a piece of PP at 2.1/2 x 3 and distressed the edges.
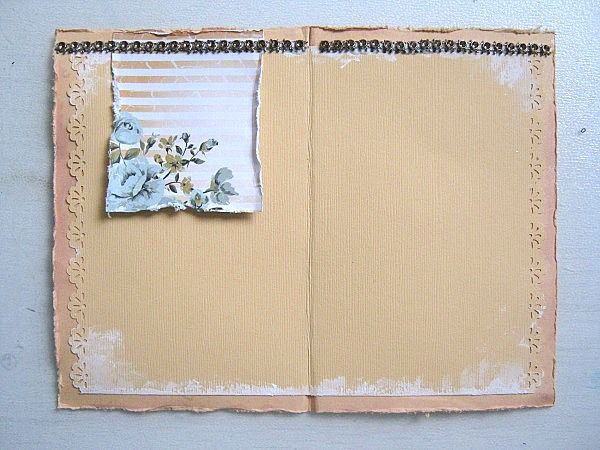
I glued: my punched inside to the inside of my base card, the distressed piece of PP in place and 2 strips of the bling that came in our Main kit. Voila... inside done!
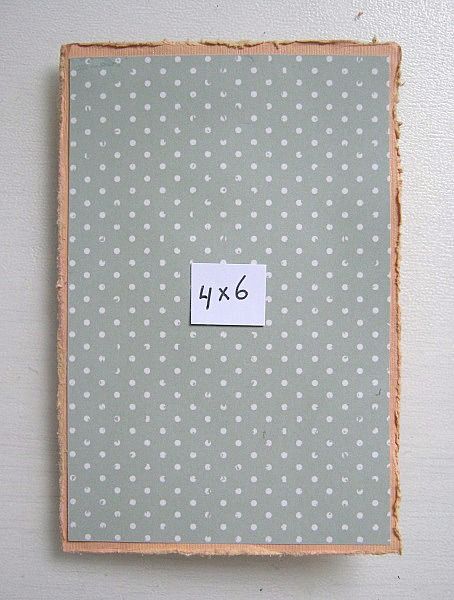
Back to the front on the card! For my background I cut a piece of the polka dot paper at 4 x 6
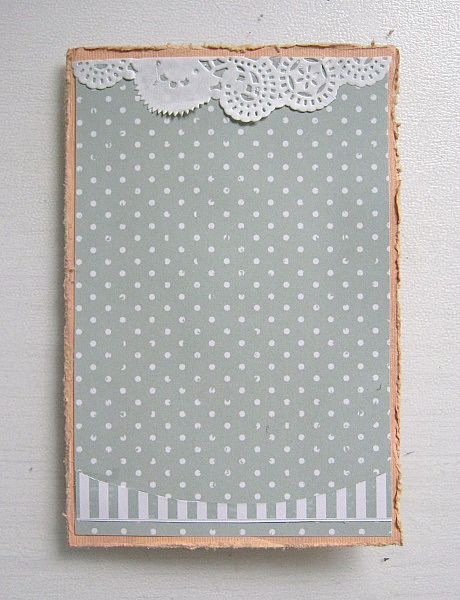
Then, and I know that everyone has these pieces saved..., I glued a left over piece of doily at the top. On 1 of my layouts I cut a cricle and the striped paper at the bottom it a piece what was left over. So I cut it to fit for my card.
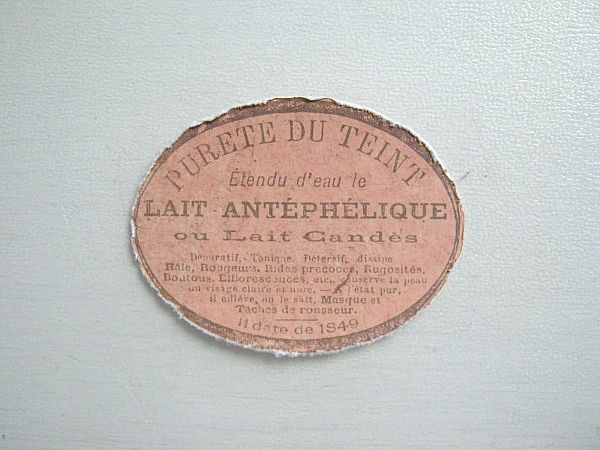
I cut out this sign from one of the papers
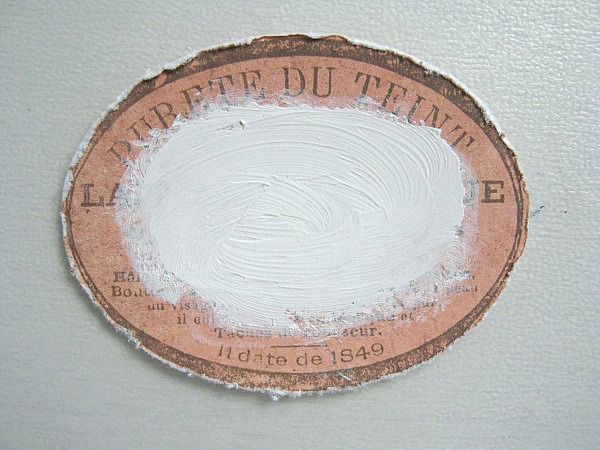
Gave it a medium coat of Gesso, which I spread around using my finger. Let it dry for 3 minutes and..........
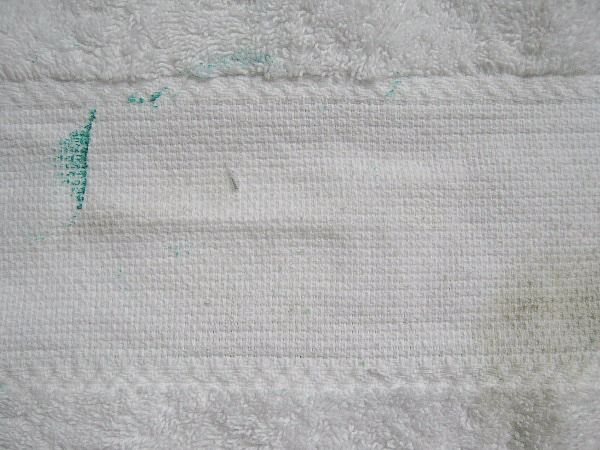
Then I placed a towel on top, and gently rubbed over it with my hand. (like petting the papers of your new delivered kit)
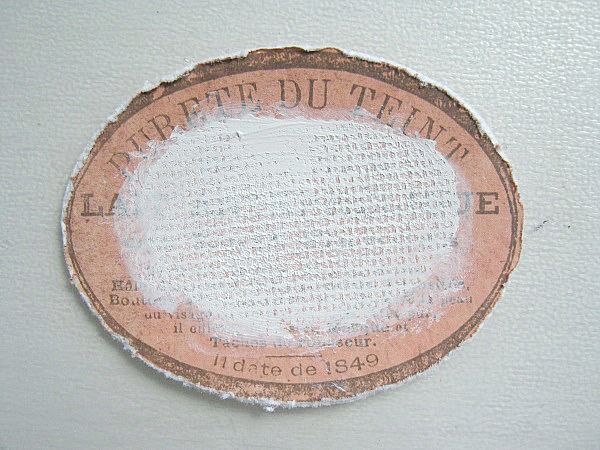
Gently took away the towel and I was impressed with the texture it gave. Love it!
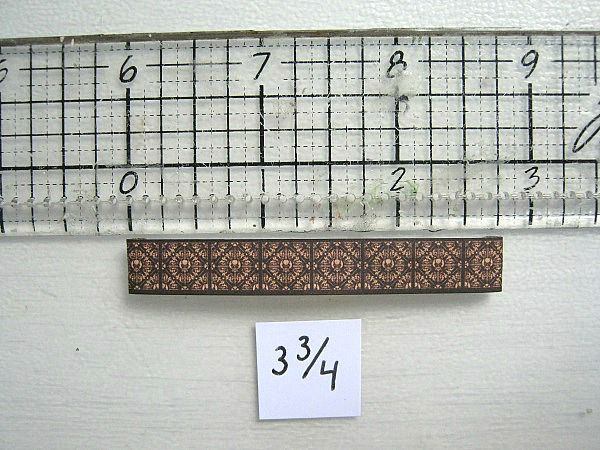
Then I cut one of the barcode strips at 3.3/4 I KNOW the ruler says something different, but trust me.
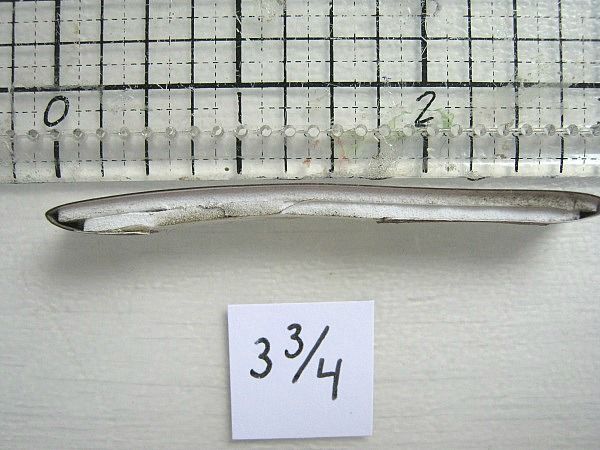
on the back I added 2 layers of foamtape (took 1 of later on) and glued the leftover 1/2 inches to the back of the foamtape.

And glued it in the middle of my sign.
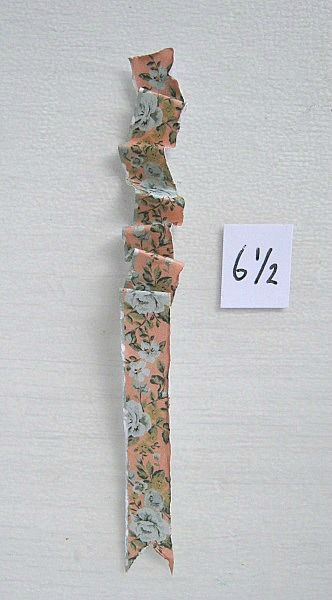
Another barcode strip was cut at 6.1/2 inches and pleated randomly.
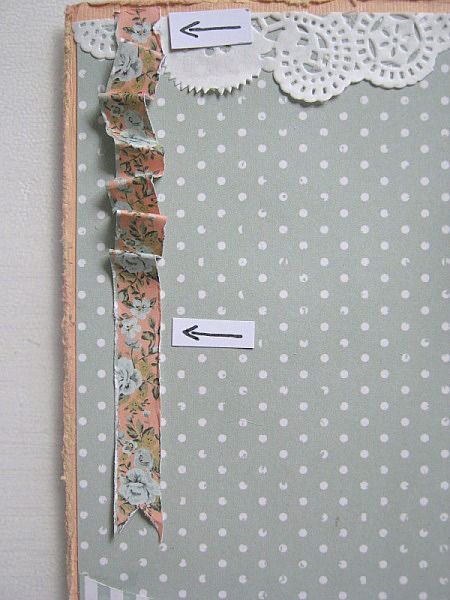
I glued it to the left side of my card. Only added glue where the arrows are.
Then I glued my sign in place and some pearl strand at the top and bottom of my card.
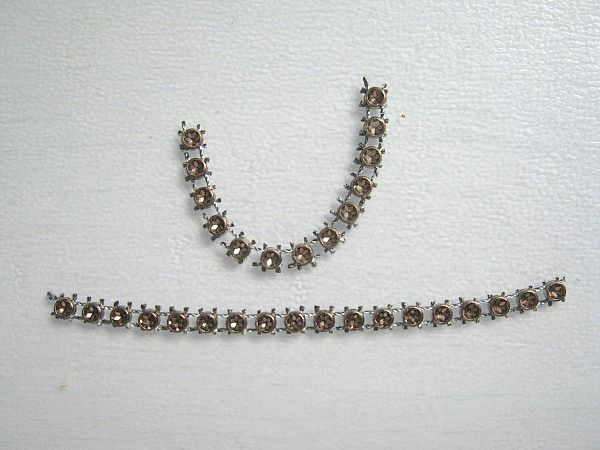
I cut 2 strips of the bling.....
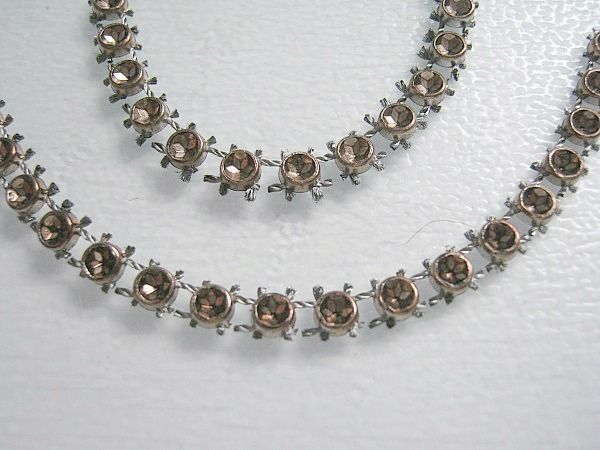
And to make it more bendable I made cuts in between the bling.
Then I glued it along my sign, like in the picture.
I took 2 of the stickers (watch the marks) that came in the main kit. I trimmed the dark one with the sentiment on it and distressed it a little. The I glued it on the orange one, (that says love)
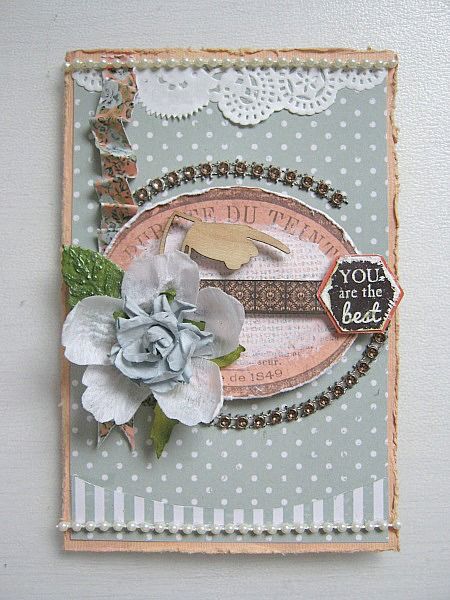
And placed my sentiment to my card. I also glued a wooden icon and some leftover flowers from a previous Swirlydoos kit, in place.
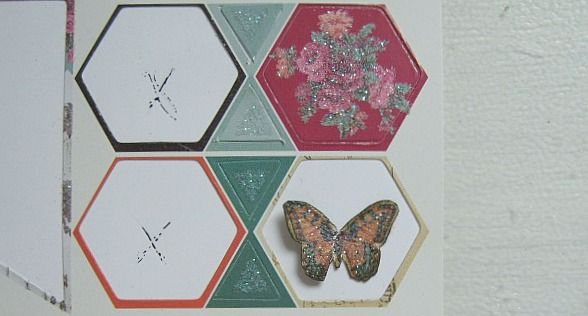
Also on the sticker sheet you find this butterfly, which I cut out and inked the edges of.
I glued it at the bottom of my card. To add 1 more tiny detail, I glued 2 little pearls on the wood icon. And I called it done.
Hope you like it, and if you haven't safe your scraps, (I can't imagine you haven't) then start doing so, cause they make the greatest cards.
Whilst working with the kit for first reveal, I always save my scraps of paper. These are just perfect for making cards. Including the barcode strips, of the Kaisercraft papers. On the back the have a lovely patern.
So, here's the card I made for today:

I snapped some pictures whilst creating, for you to see, how it came together.

For my base card I cut a piece of cardstock at 8.1/2 x 6.3/8 Fold it double and then spritzed it with a pink glimmermist and distressed the edges.

For the inside of the card I cut a piece of the same cardstock (not misted) at 8.1/4 x 5.3/4 Fold it double and used a border punch at both sides. Then, using my finger, I added some Gesso to the top and bottom and let it dry.

Then I cut a piece of PP at 2.1/2 x 3 and distressed the edges.

I glued: my punched inside to the inside of my base card, the distressed piece of PP in place and 2 strips of the bling that came in our Main kit. Voila... inside done!

Back to the front on the card! For my background I cut a piece of the polka dot paper at 4 x 6

Then, and I know that everyone has these pieces saved..., I glued a left over piece of doily at the top. On 1 of my layouts I cut a cricle and the striped paper at the bottom it a piece what was left over. So I cut it to fit for my card.

I cut out this sign from one of the papers

Gave it a medium coat of Gesso, which I spread around using my finger. Let it dry for 3 minutes and..........

Then I placed a towel on top, and gently rubbed over it with my hand. (like petting the papers of your new delivered kit)

Gently took away the towel and I was impressed with the texture it gave. Love it!

Then I cut one of the barcode strips at 3.3/4 I KNOW the ruler says something different, but trust me.

on the back I added 2 layers of foamtape (took 1 of later on) and glued the leftover 1/2 inches to the back of the foamtape.

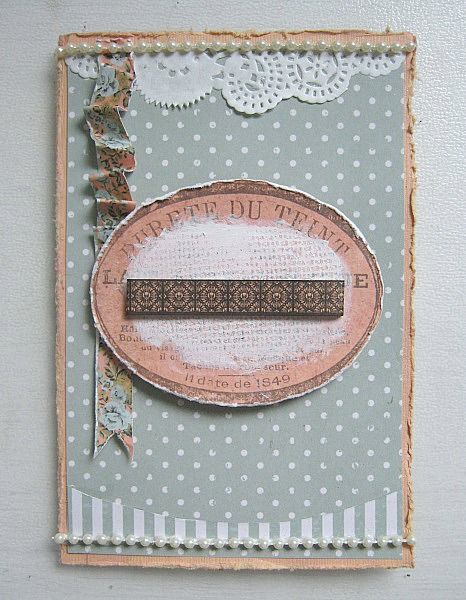
And glued it in the middle of my sign.

Another barcode strip was cut at 6.1/2 inches and pleated randomly.

I glued it to the left side of my card. Only added glue where the arrows are.

Then I glued my sign in place and some pearl strand at the top and bottom of my card.

I cut 2 strips of the bling.....

And to make it more bendable I made cuts in between the bling.

Then I glued it along my sign, like in the picture.

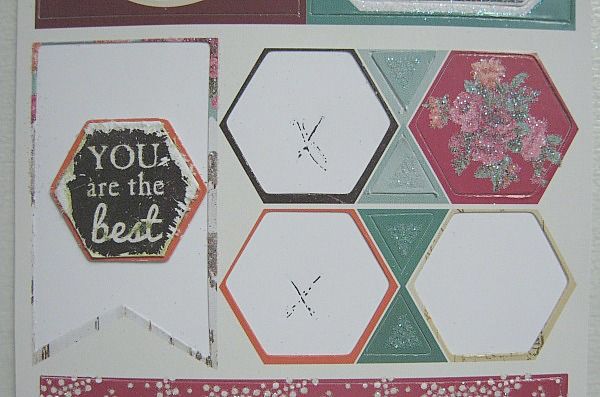
I took 2 of the stickers (watch the marks) that came in the main kit. I trimmed the dark one with the sentiment on it and distressed it a little. The I glued it on the orange one, (that says love)

And placed my sentiment to my card. I also glued a wooden icon and some leftover flowers from a previous Swirlydoos kit, in place.

Also on the sticker sheet you find this butterfly, which I cut out and inked the edges of.
I glued it at the bottom of my card. To add 1 more tiny detail, I glued 2 little pearls on the wood icon. And I called it done.
Hope you like it, and if you haven't safe your scraps, (I can't imagine you haven't) then start doing so, cause they make the greatest cards.
Subscribe to:
Post Comments (Atom)

Be sure to "LIKE & FOLLOW" Swirlydoos for special FB only deals and promos
Follow this blog with bloglovin

Scrapbook Sketches

see all of our sketches here
Keep Tabs On Our Blog!


Popular Posts
-
 Welcome to Swirlydoos' March Kit Reveal Blog Hop Block Party!! We have some amazing projects for you to see today and as a bonus...
 -
 Welcome to Swirlydoos' Mystical Winter kit reveal Blog Hop Block Party!! Happy New Year and Welcome!!! This month's kit,...
 -
 Welcome to Swirlydoos' June Kit Reveal Blog Hop Block Party!! We are so pleased to show off our June kit, Antiquities!!! This kit...
 -
 Thank you for joining us today for our ONE DAY blog hop featuring our September kit collection, Gilted Pleasure . **All collec...
 -
 It's the big re ve al ! The full M onty! Check out our November kit, Nouveau ! Be sure to check out a video "tour" of...
 -
 Welcome to the FALL SPLENDOR blog hop with PaperHaus Swirlydoo s Kit Club is proud to offer our Christmas themed "BELI...
 -
 I wanted to showcase some of our entires for the Swiryhues Challenge. Just look how beautifully some of the entries are for this palette. ...
 -
 It's the big re ve al ! Say hello to our December kit! Be sure to check out a video "tour" of the main kit, kit add ons an...
 -
 Welcome to Swirlydoos November Kit Reveal Blog Hop BLOCK PARTY!!! That's right, we are having a party and you are all invit...
 -
 Boy, oh boy do we have a stellar hop for you this month!! Just when I think that Krissy couldn't possibly created a prettier ki...
2 comments:
merci pour le tuto de cette magnifique carte.
Beautiful and a lovely tutorial as well - thank you!